Emailing a PowerSchool Report
This article assumes report emailing has been set up. For more information on setting up report emailing within PowerSchool see this document.
With BrightArrow report emailing turned on, all reports in the Report Queue (System) page will have a button in the “Send” column. However, only reports that have been set up properly can be emailed. If you want to email a report that has been properly set up for emailing here are the steps:
- In PowerSchool, navigate to People > Students and select the group of students you wish to email
- You can use the filters to select a group of students, or select them by hand
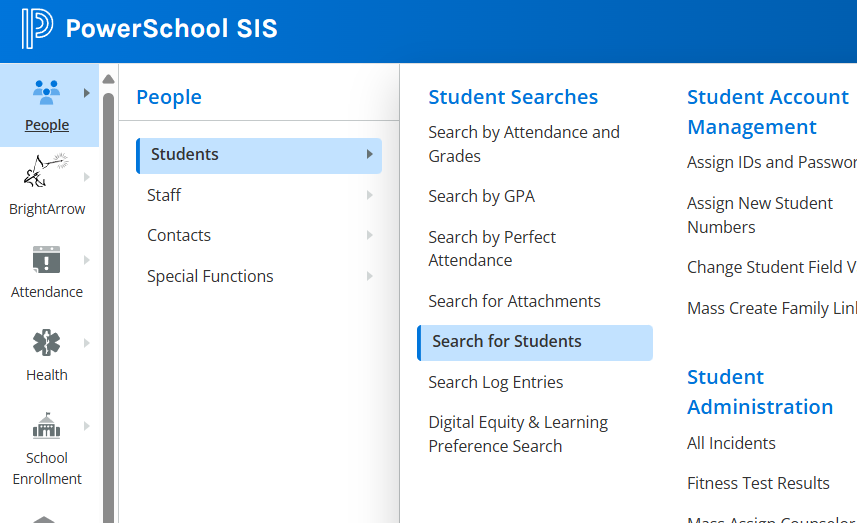
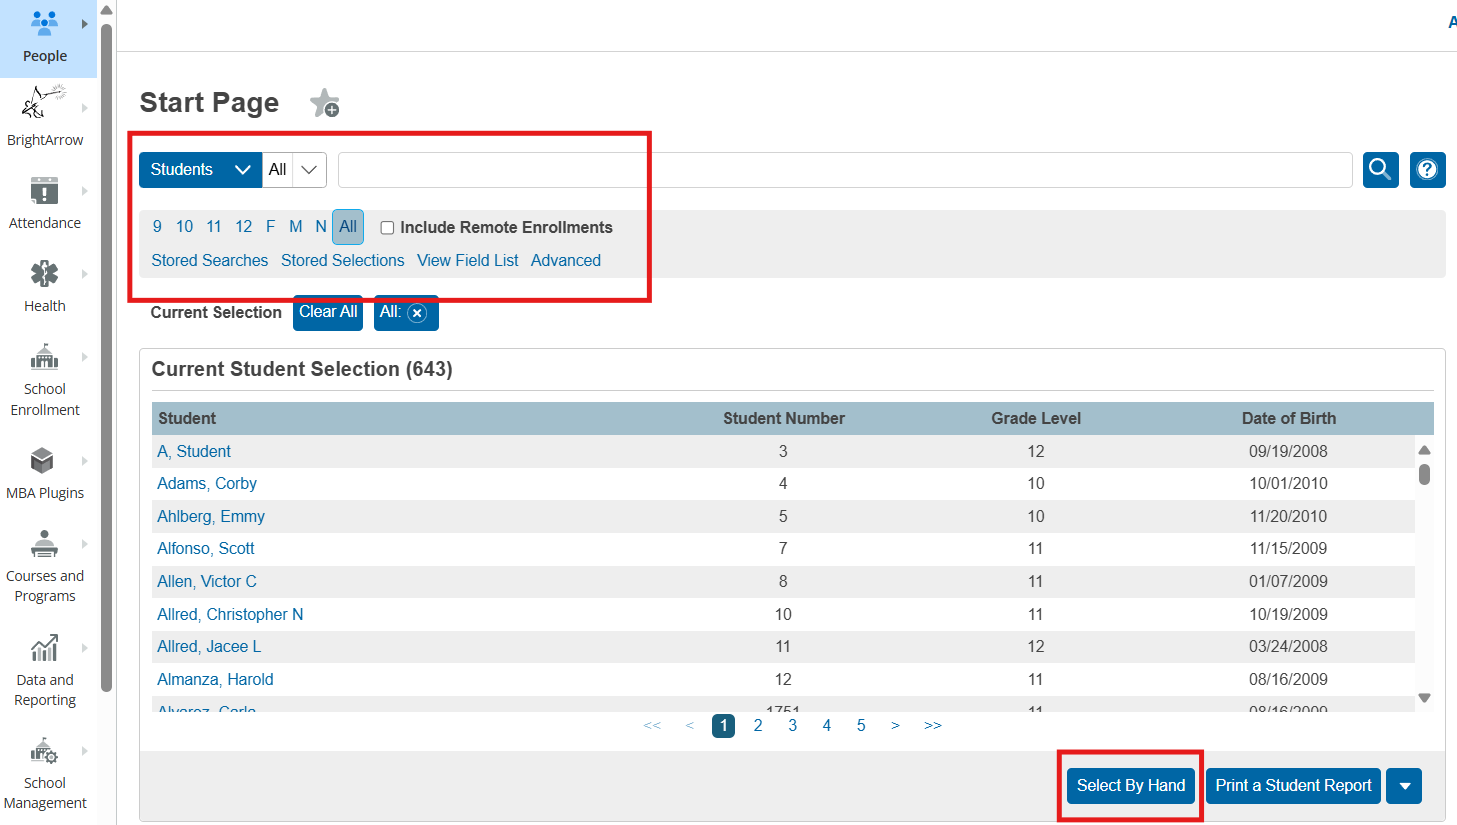
- Click on the downward facing arrow to pull up the Group Functions menu
- Select “Print a Student Report"
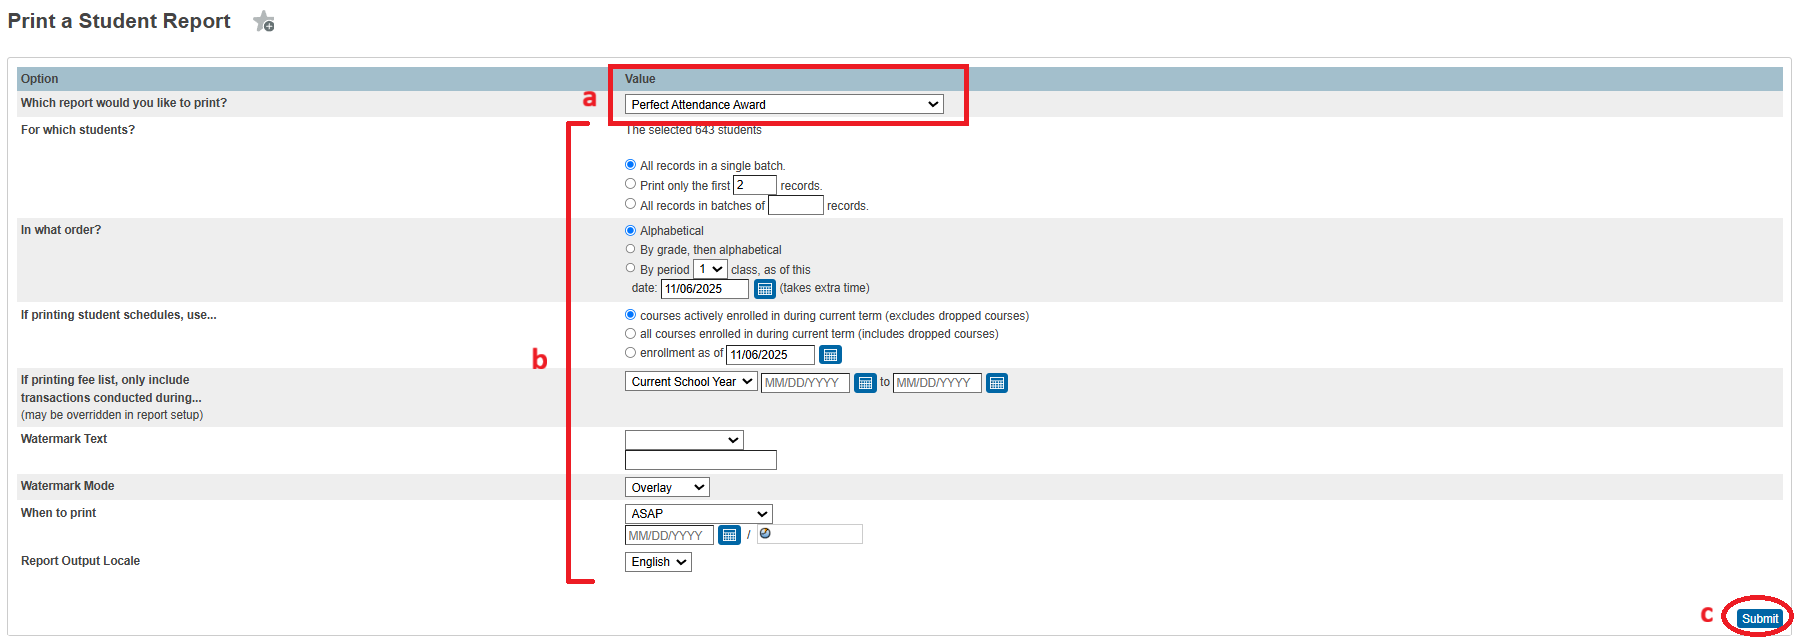
- The "Print a Student Report" page will open
- Select the report you wish to run and email from the drop down.
- Change any other settings to run your report as necessary
- Click “Submit”
- From the Report Queue (System) page wait until your report has completed running. If you don’t have auto-refresh enabled you may need to refresh the screen a few times.
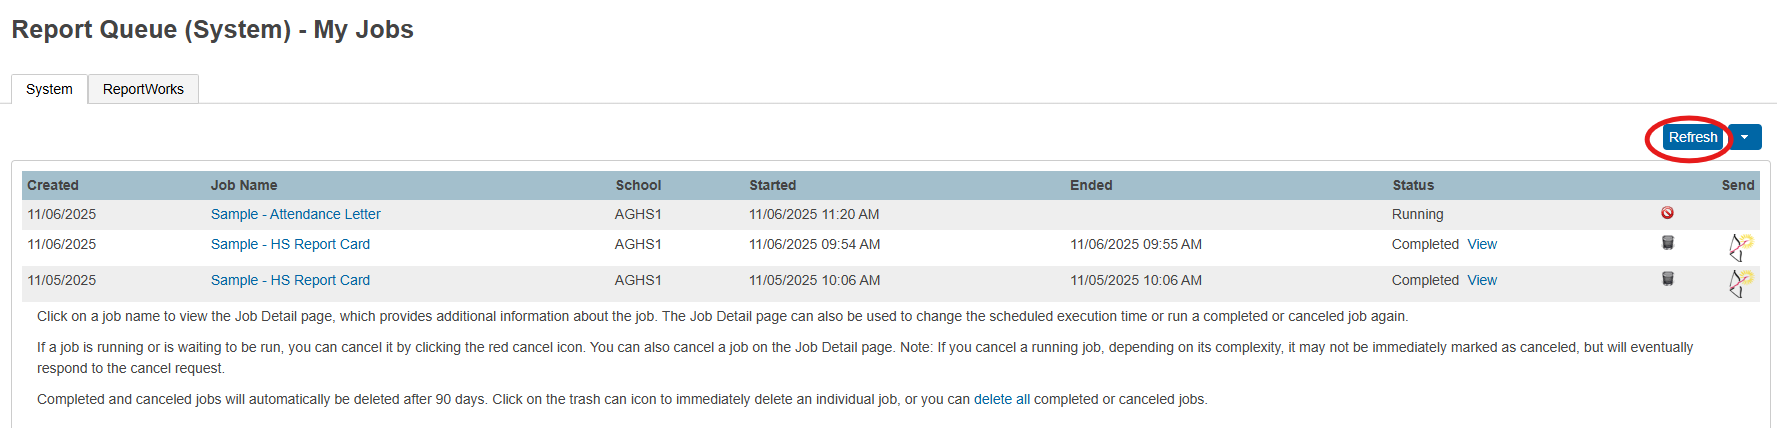
- Once the report has completed, you’ll see a BrightArrow icon in the “Send” column. Click it.
- If you are given an option to pick a list choose one and click “OK”. If there is only one list available you’ll be taken directly into the Create Message page.
- The Email option should automatically be selected, but if you are not brought directly into the email creation page, click on "Select Message Types" and check the option to send an email.
- Write a message to go in the email body to send with your attached report
- Change the email subject, display name or display from email address as appropriate. Note that you should only change the "From Email" address if you're sure that you have SPF and DKIM set up on your servers.
- Send your message. Please note that emails with report attachments cannot be scheduled to send at a future date/time.Pre-scheduling of Report Emailing is not supported.
- A pop-up window will appear to confirm that you want to send your message. Click Yes.


Note: the number of contacts will be the list size, not the number of individual student reports it found. Even though it may say 100 it will only be able to email the report to the contacts who have a report with a matching student number. If there is no report to send they will not receive an email.
Note 2: The preview button will not send you a sample report. If you need to verify that it’ll send print a single student report, edit the list record for that student so that the email address is you instead of the real emails, then send it for real. That will show you how it works, preview will not attach any reports.
