How to Import Contacts from a Spreadsheet
Importing a contact list allows you to upload contact information from a CSV / Excel file directly into BrightArrow. This is a great way to upload mass contact information instead of adding each contact one-by-one. Note: This method should only be used for basic/static lists. Contacts imported using this method will not update with your nightly sync. To upload a spreadsheet that syncs to your lists, see Syncing with Google Spreadsheets
It is important that the format of the data in the file is consistent from row to row. All phone numbers and names should be formatted the same, and in the same column, etc., like in the example below.
Notice that column A is all first names, column B is all last names, column C is the contact/student ID number, etc.
Your columns do NOT have to be laid out in the same order as shown. Each data point must be contained in the corresponding column for BrightArrow to recognize it (all first names must be in the same column as other first names; all last names must be in the same column as other last names). Each data point needs to be separated in it's own column (phone #1 must be in a different column than phone #2). 
1. Create a New List or open an existing list
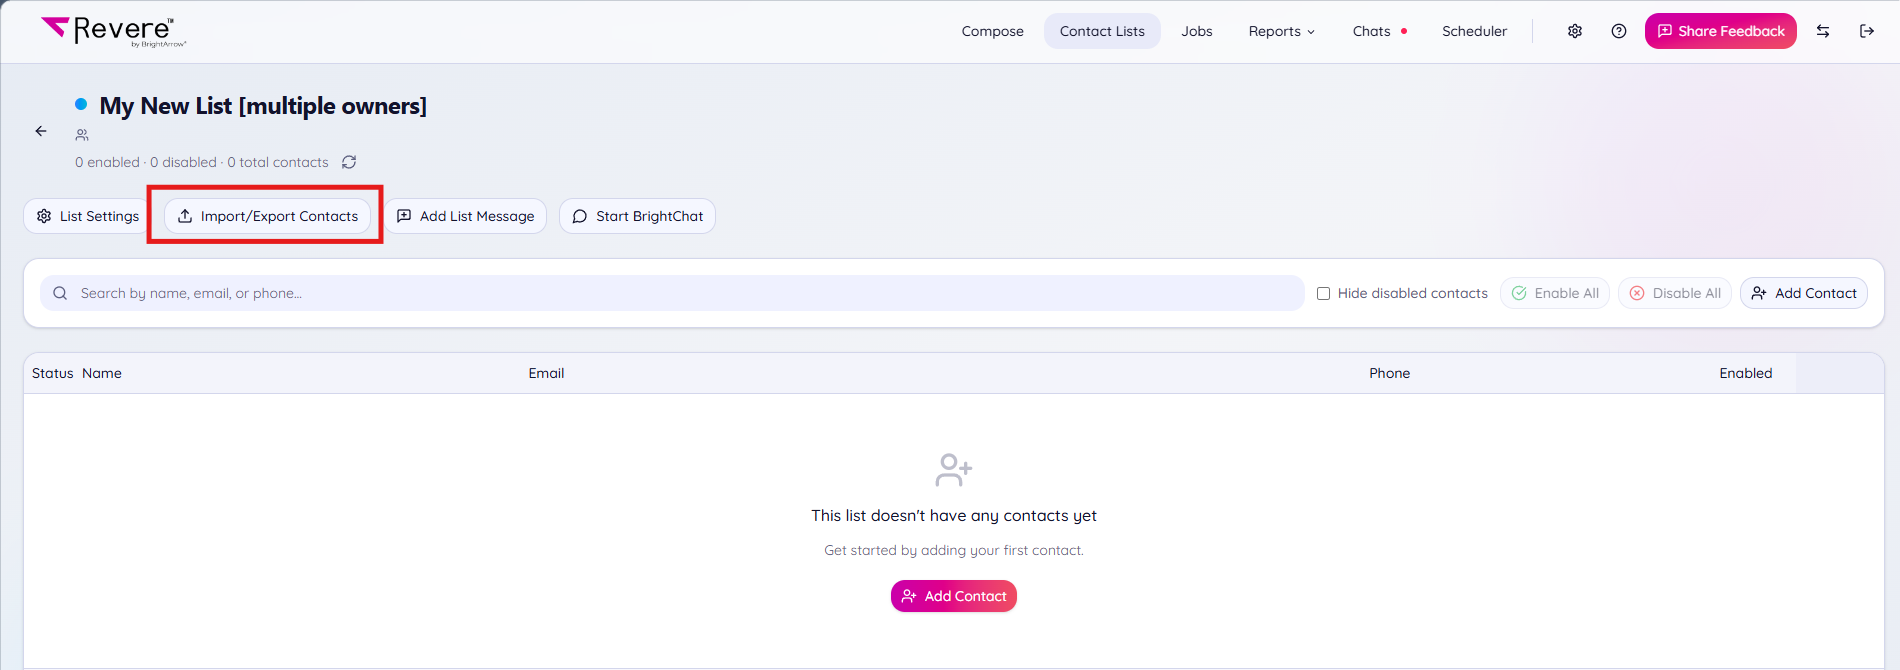
2. Click the Import/Export Contacts button in the upper left
3. Click inside the Choose File box to upload your Excel spreadsheet or CSV file, or drag and drop your file directly into the Choose File box
 4. A sample of the data you imported will show on the screen. BrightArrow automatically guesses how each column should be mapped, but you can change those mappings as needed.
 5. In any column you need to change the mapping for, click in the drop-down at the top of the respective column. Choose the correct mapping.
 6. With your mappings adjusted accordingly, scroll to the bottom of the page and click Next.
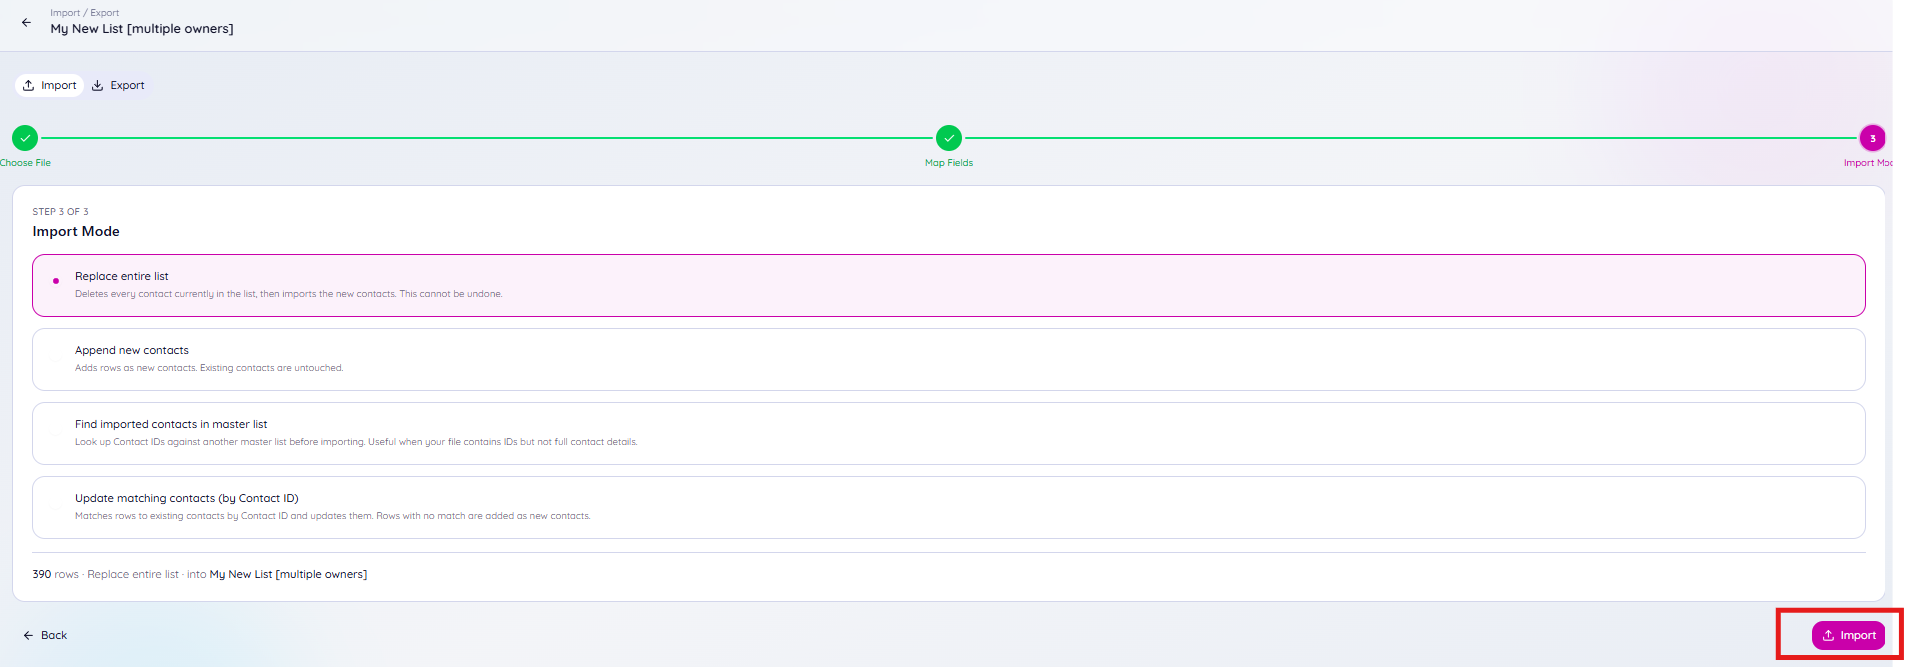
7. Choose the option you wish to use for this import file.
- Replace Entire List: If there were contacts in your list before uploading the file, this will replace all of them with whatever is in your spreadsheet. Note that if you are importing contacts to a synced or linked list, the changes you make now with your import will be overwritten and replaced with the nightly sync (basically reinstating what you previously had in the list).
- Append New Contacts: If there are already contacts in your list, use this option to add your new import file to the existing list.
- Find Imported Contacts in Master List: If your file contains each contact's ID but may be missing other data, use this option to match the contacts in your import file to pull in their respective data from another existing list. (You will be prompted to choose the source list that should be referenced)
- Update Matching Contacts by Contact ID: If your list already includes some of the contacts in your spreadsheet, this option will reference the Contact ID and apply updates to those contacts when it finds a match. If no matching Contact ID is found, it will add rows from your spreadsheet as new contacts. (You will have the option to keep the settings in-tact for any matched contacts)
8. Once you've clicked on the import option, click the Import button in the bottom right.
9. Depending on the import option you chose, you may see pop-up window requiring you to confirm your choice.
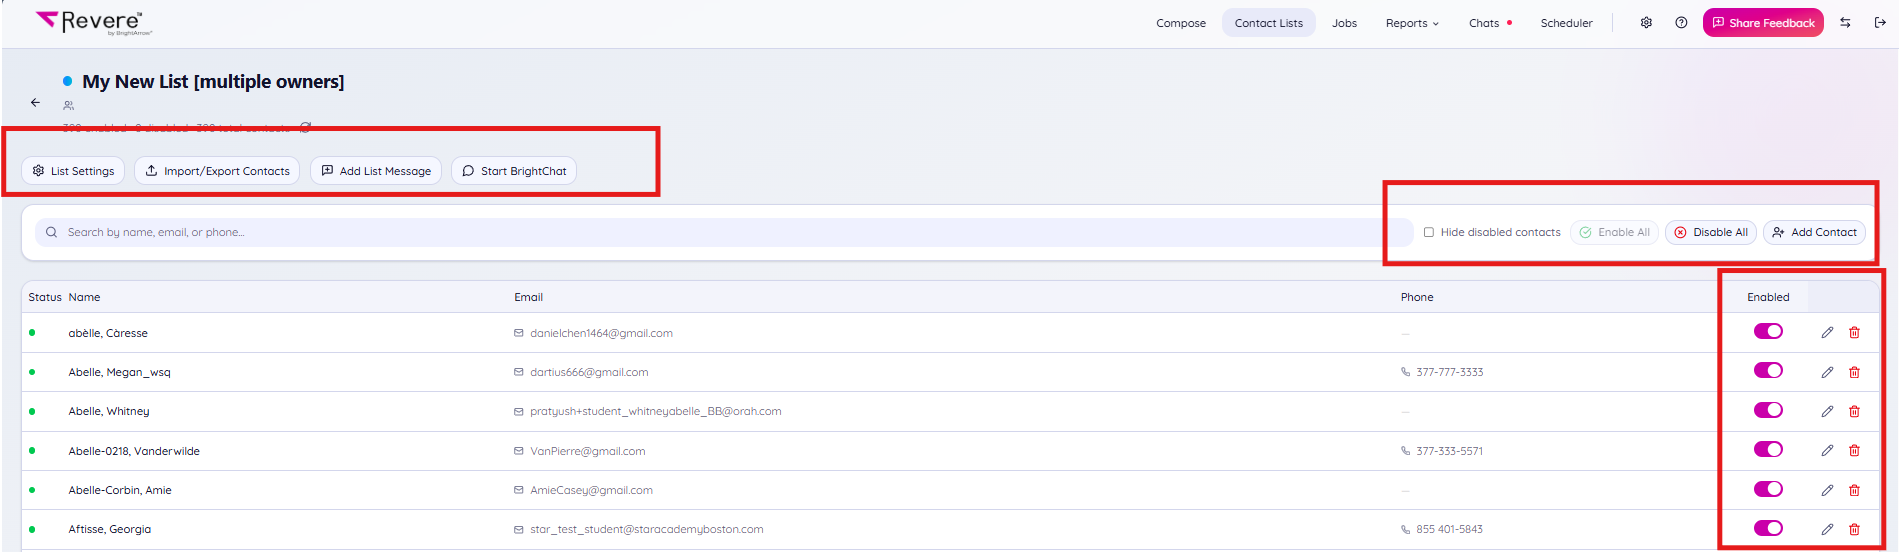
 10. Your import is now complete and you will be redirected to the list's details to review the contacts in it. Use any of the options in the screenshot below to further manage your list or it's contacts.