Setting up Basic Exports - Parents
Minimum version: BrightArrow Base 2 v24.09.24
The parents export is used for creating lists that can message the parents/guardians of a student. If you'd like to send a message directly to the student use the student export.
Parent information can either come from legacy fields or from contacts. While there are pros and cons to both methods we are ready and willing to use whatever fields you are using for your phone/email information. Over time schools have converted from using legacy fields to contacts and switched the settings but forgot to switch the exports. The Combined PowerQueries are able to handle both legacy and contact requests allowing the school to switch without needing to remember to switch exports as well.
Previous Version
Prior to the Parents Combined PowerQuery schools would use either the BrightArrow - Basic - Parents from Legacy or BrightArrow - Basic - Parents from Contacts PowerQueries and would need to switch them if they switched what they were using. Support would also need to change the import to match. The combined PowerQuery allows you to change what you are using from within the settings without any additional processes.
Before the basic versions of the PowerQueries were introduced you would use the BrightArrow Student Contacts - legacy version powerQuery to export out parent data using legacy phone/email fields or BrightArrow Student Contacts - unlimited to export out parent data using contacts. In those versions you would need to hunt for fields to put them in the correct order. This version has everything numbered so that they appear in the correct order and includes filter versions of fields so that you can change values by adjusting the filters instead of needing to come into the export and change things. It's meant to be much easier than before.
Assumptions the Export Makes
There are certain things that are hard coded into the query. You will not need to specify these in the export.
- The student is either active or pre-enrolled. There are also settings to have this export also include graduated and/or transferred out students as well. The export will handle all of this from the settings. Active and Pre-Enrolled are always included.
- For Contacts:
- The current date is between the start and end date for the relationship between the contact and the student.
- If no start date is entered then 1/1/1990 is used
- If no end date is entered then 12/31/2100 is used
- This ensures the contact has an active relationship with the student and assures contacts that have ended will no longer be used for calls, texts or emails
- Contact is active. If the contact is inactive it will be ignored
- Contact's relationship to the student is active. If this field is marked inactive the contact is ignored.
- Contact's relationship value does not match the one set in the student's filter indicating the contact is in fact the student themselves.
- Contact's filter values, as selected in BrightArrow Settings - Filters, match the contact
- The current date is between the start and end date for the relationship between the contact and the student.
Setting up the Parents export
The export should be set up in DEM from District Office. For information on getting to DEM read Getting to Data Export Manager (DEM)
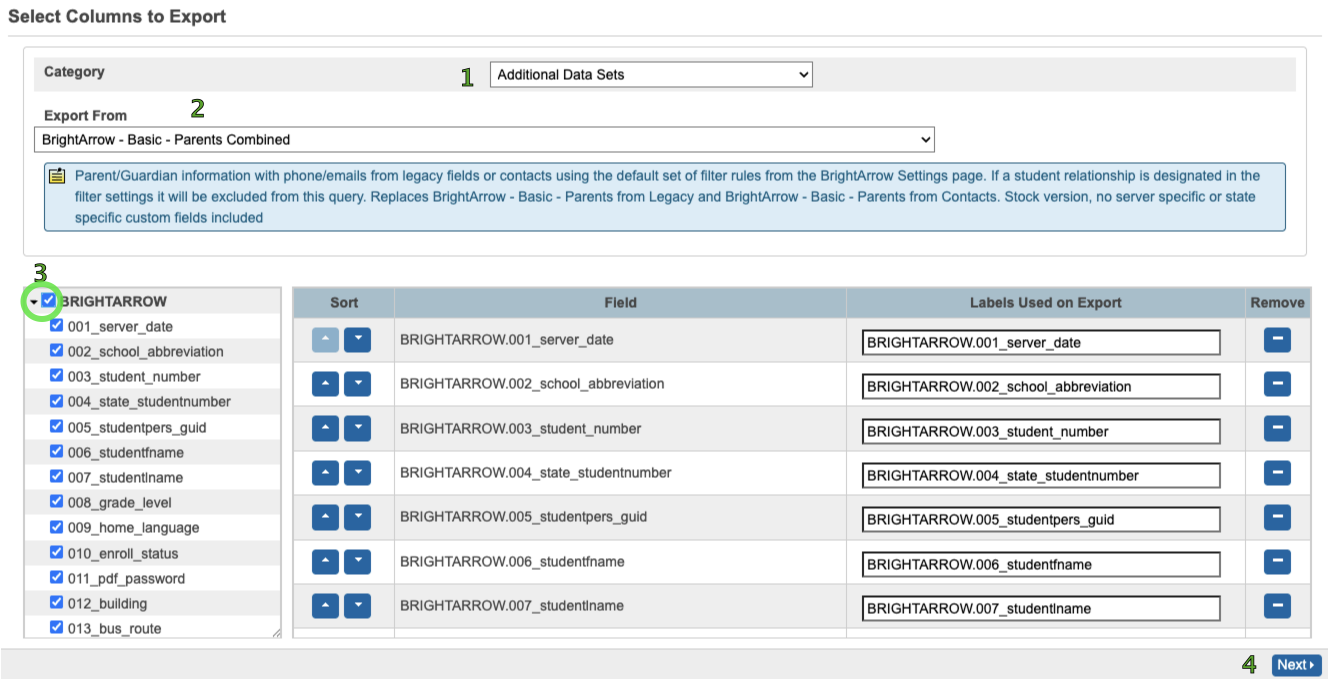
- Category = Additional Data Sets
- Export From = BrightArrow - Basic - Parents Combined
- Custom PQ will be called BrightArrow - Basic - Parents Combined - Custom if needed
- Fields -> Select the checkbox next to "BRIGHTARROW" to select all fields. Fields are already listed in proper order.
- Click Next
- No filters here, controlled by the settings page filters
- Click Next
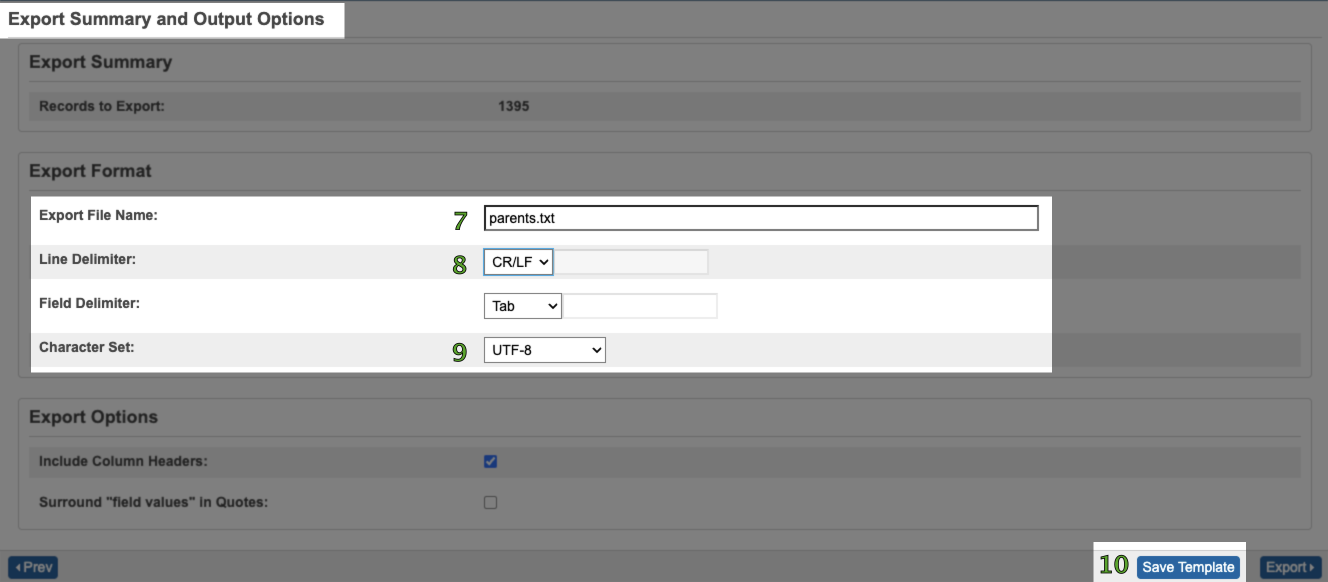
Note: Before the next section becomes editable the entire template must run. This is not a quick process and the larger your district the longer this will take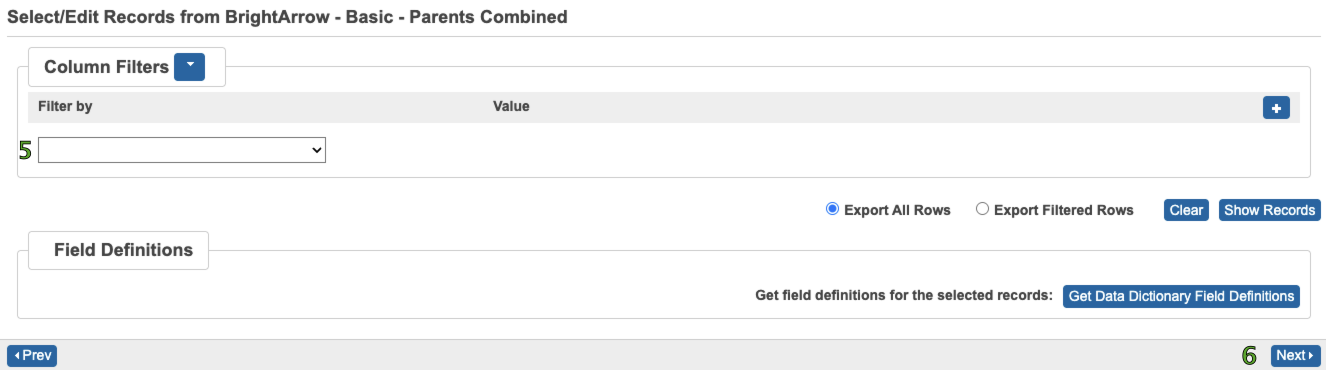
- Export File Name = parents.txt
- Line Delimiter = CR/LF
- Character Set = UTF-8
- Click Save Template
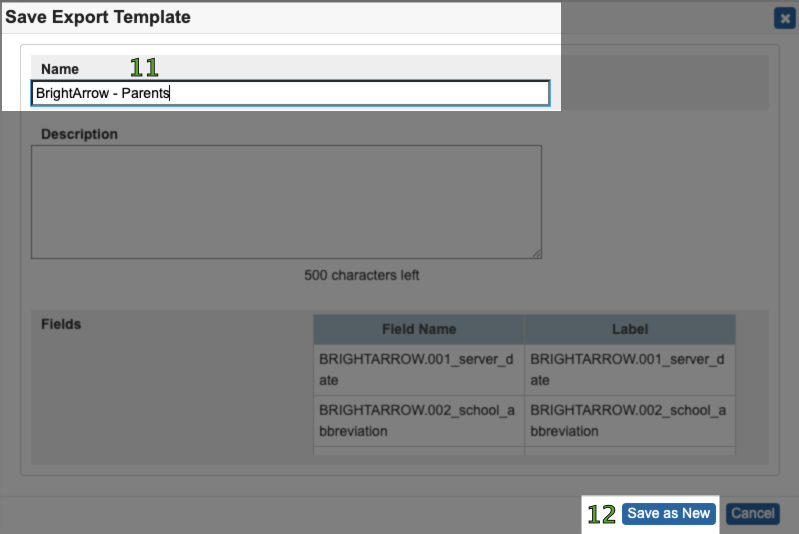
- Name = BrightArrow - Parents
- Click Save as New
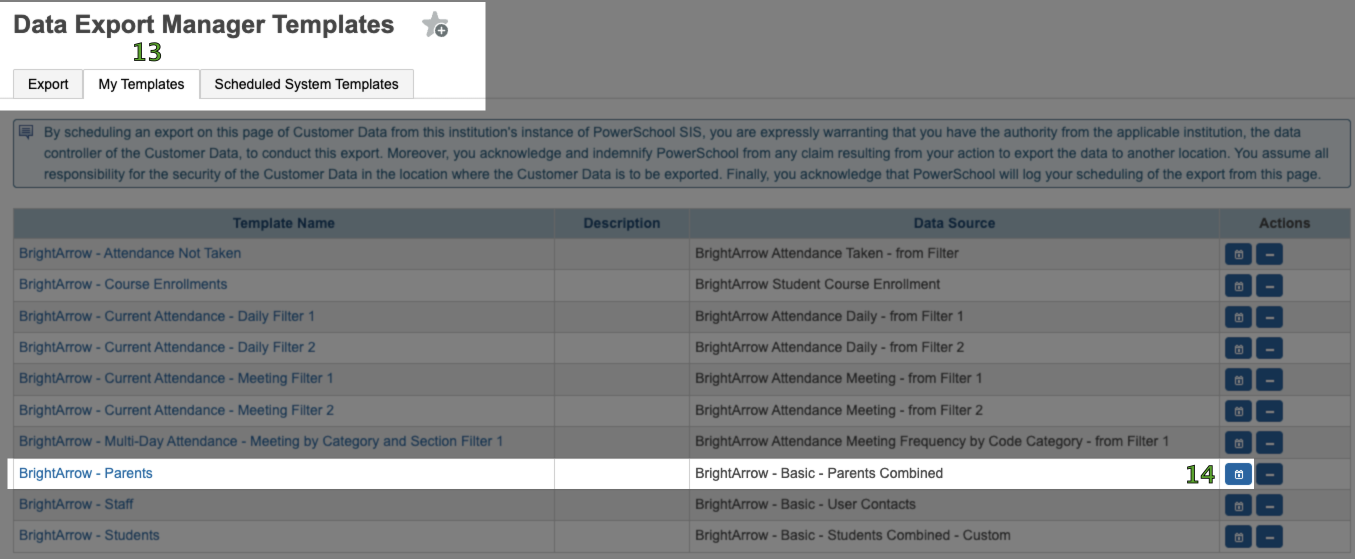
- Switch to the My Templates tab
- Find the row for the new template and click the calendar button to schedule this template. If you do not see the calendar button or the Scheduled System Templates tab you don't have permission to schedule exports. For more information on that read Enabling DEM Scheduling
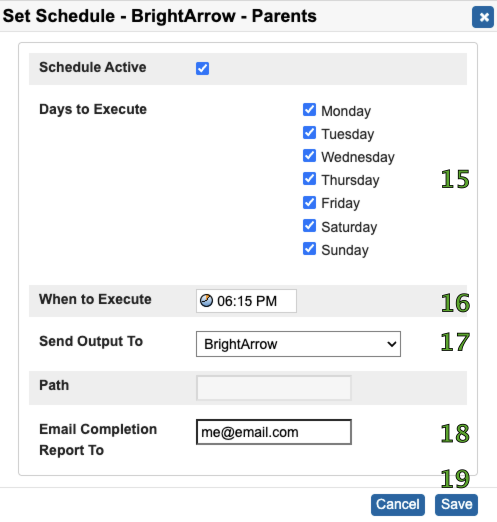
- Days to Execute = All Days
- When to Execute = pick a time between 5 and 9 pm
- Send Output To = BrightArrow
- Email Completion Report To (optional) = your email or an email to keep a record of if the export and file transfer was successful or if it failed.
- Click Save
- Your export will go at the scheduled time and day(s). To send a copy now so that we can get started setting up the import of the file you can click the Send Now button which looks like the Play button from DVD player
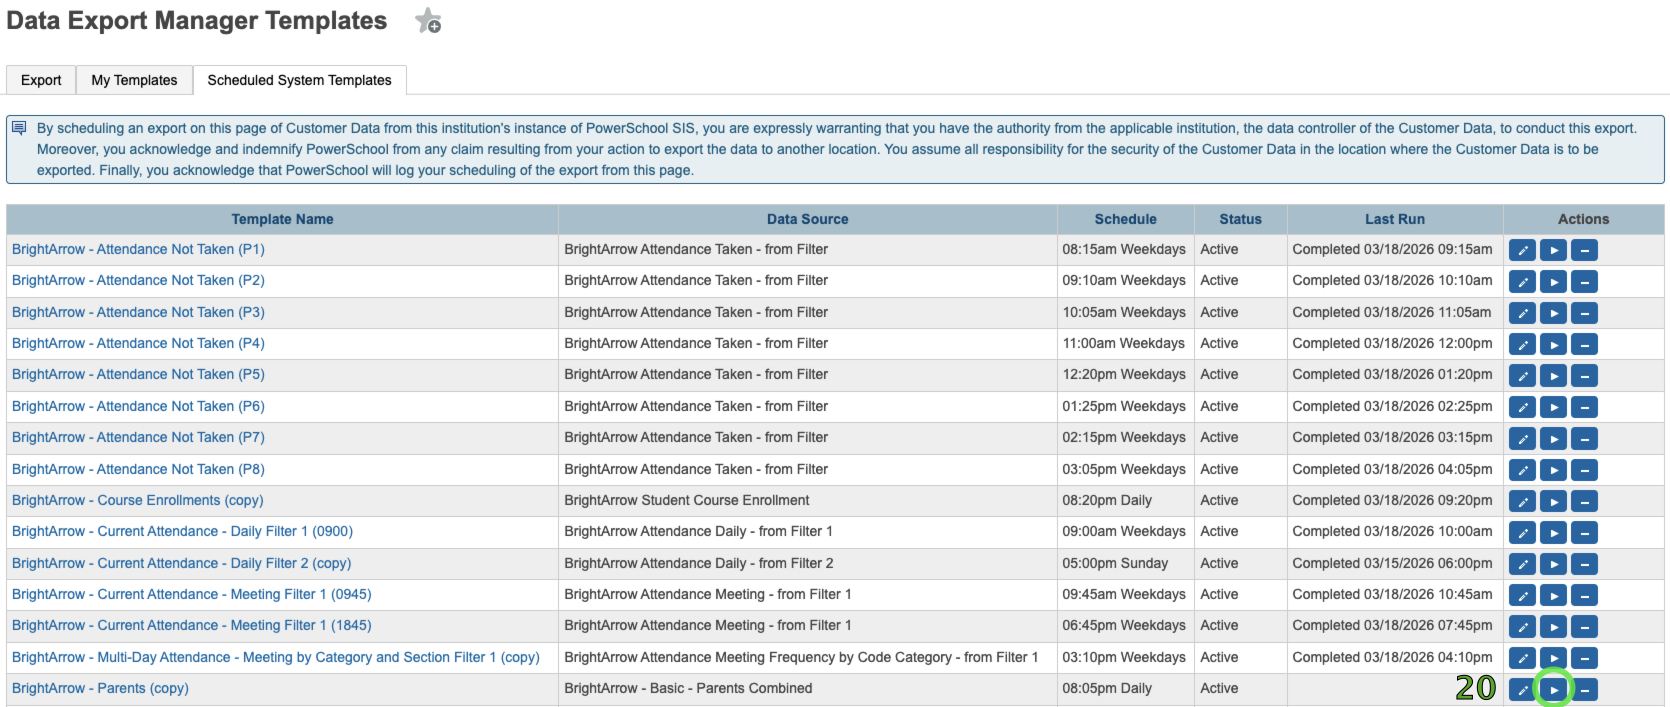
- Let us know that the file is ready so that we can set up your import


