How to Copy a List
Copies of lists are useful if you need to share the list with another user of the system without giving them access to the original list. Copied lists are useful when you need to save more than one message to the same recipient's list, save different contact selections to the same recipient's list, or to share a (sync) list.
The copy function only copies the contacts within the list; it does not copy messages that are saved to the original list. When creating the copied list, you'll have the option to keep the contact selection the same as what's in the original list or to allow the copied list to have a different contact selection. Lists with the word (sync) appended to the list's name cannot be shared directly, but you can make a copy of the (sync) list and share the copy.
How to copy a list in Revere
In the Revere interface, you can create a duplicate copy of any list from the "Contact Lists" page.
- In your Revere navigation panel, go to Contact Lists.
- Click on the New List button in the upper right.
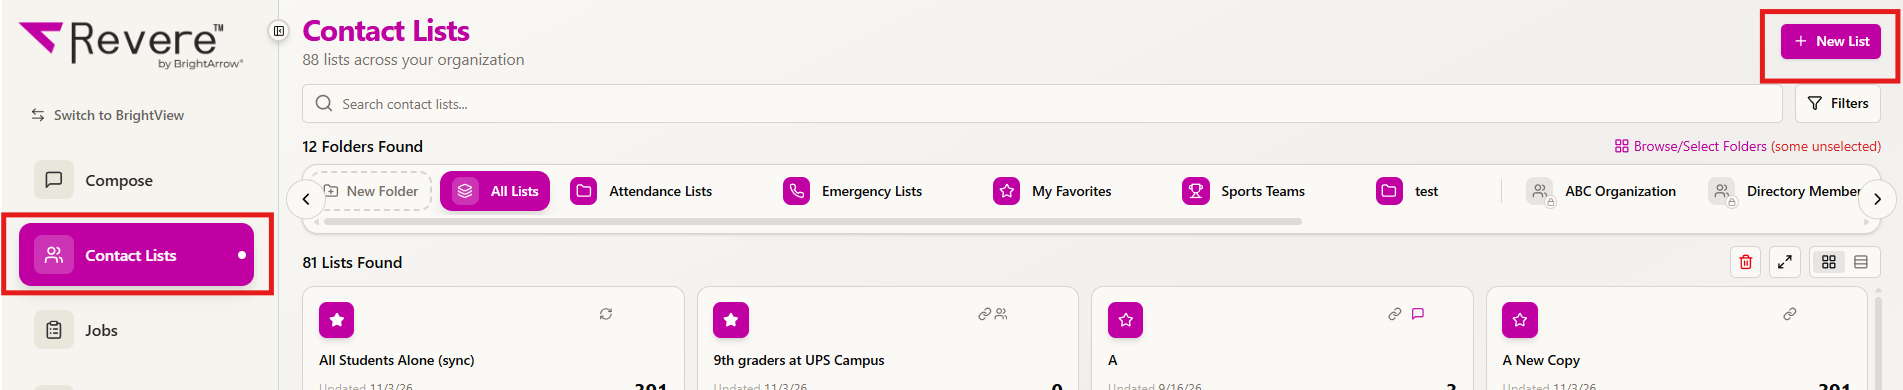
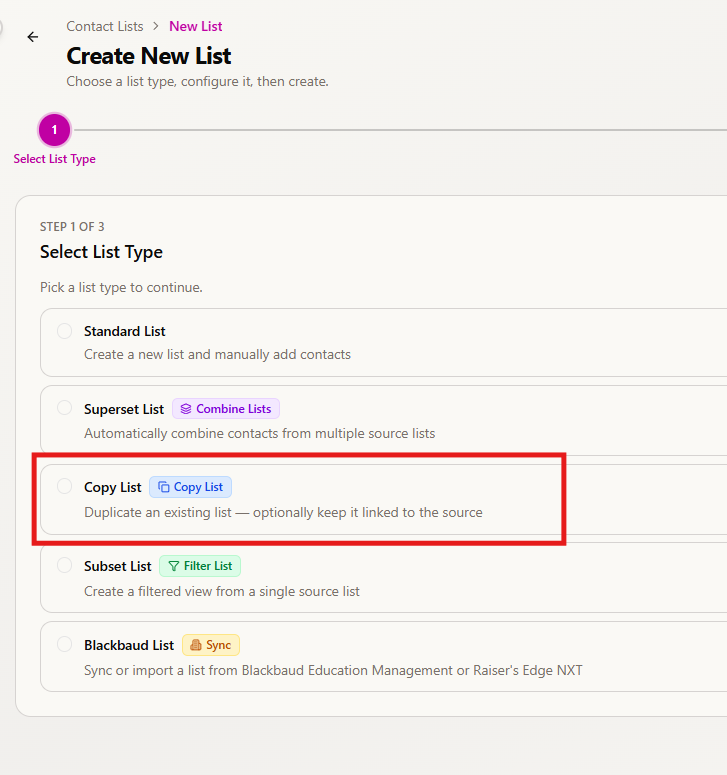
- All available list type options will show. Choose the option for Copy List.
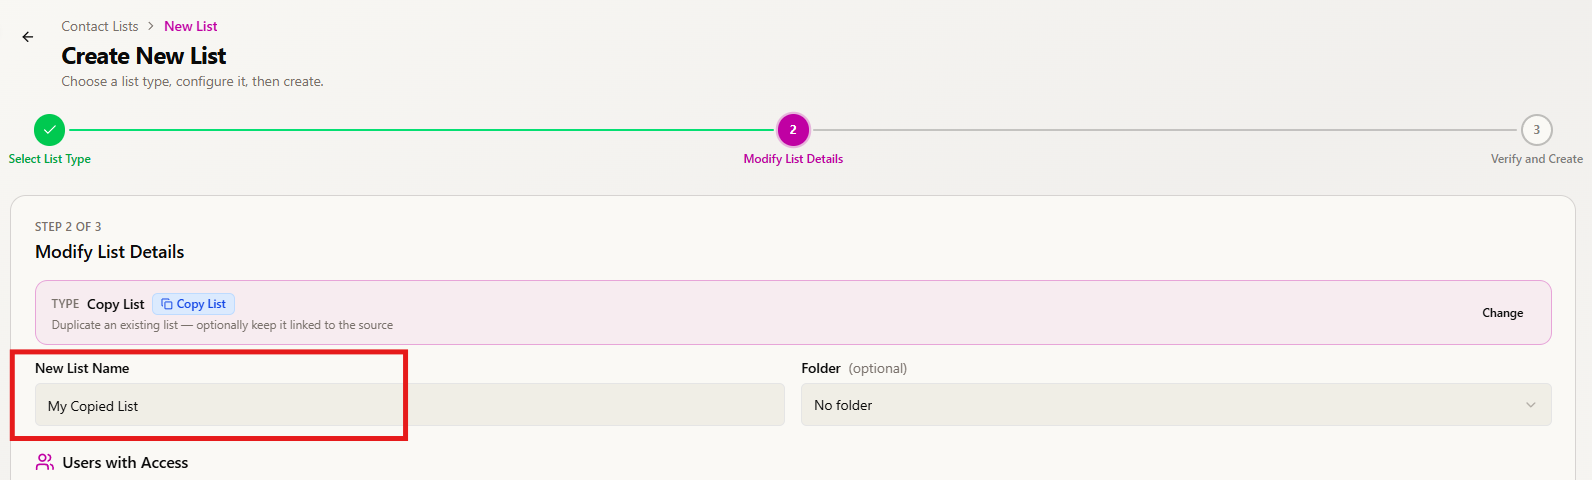
- Start by giving the new copied list a name. The list's name should be something that makes it easy to understand the list's recipient's or its purpose. For example, if you're creating the copy specifically to use for weather-related emergencies, you might want to name it "All Contacts for Weather Emergencies."
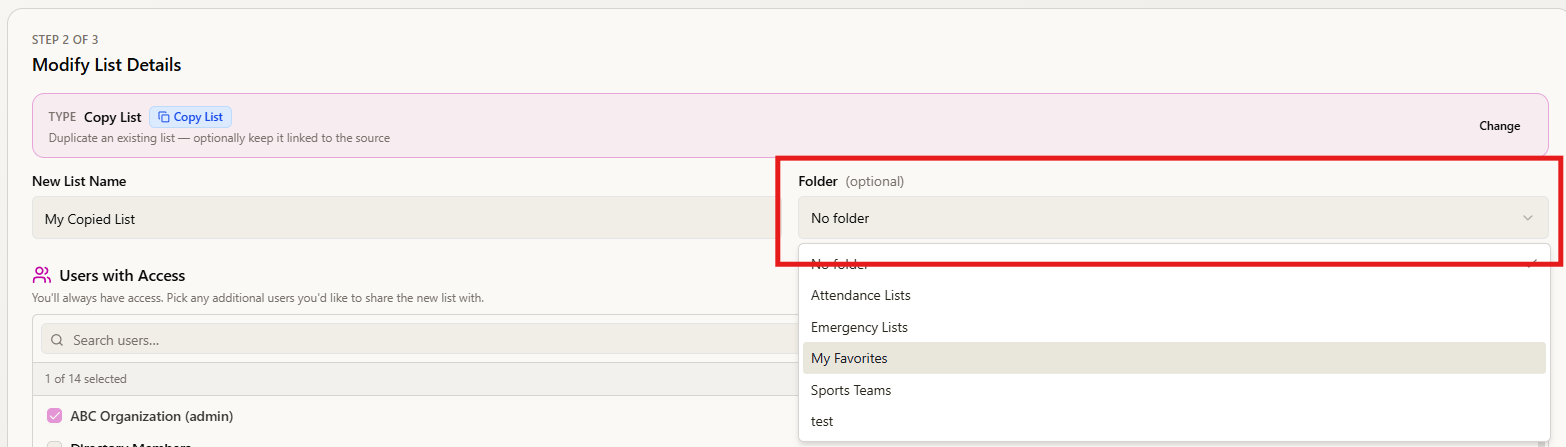
- Optionally add the list to one of your personal folders. Personal folders, such as "My Favorites," are not shared with other users and exist only as a way to help you organize your lists. You can always add the list to personal folder later.
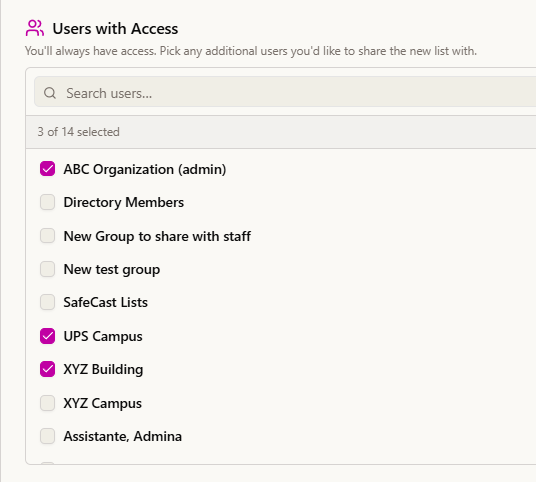
- In the Users with Access section, mark the checkboxes for any users or user groups you would like to share the list with. The number of users you see here is dependent on your account's level of access. Administrators may see a large number of users and user groups, while other staff might see only a few or only themselves. You can always share the list with other users later via the list's settings.
- Choose the source list. The source list is the original list that you want to make a duplicate of.
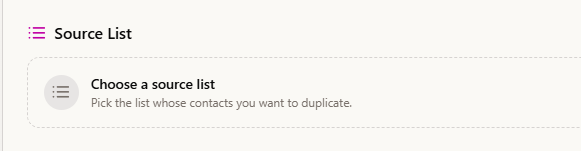
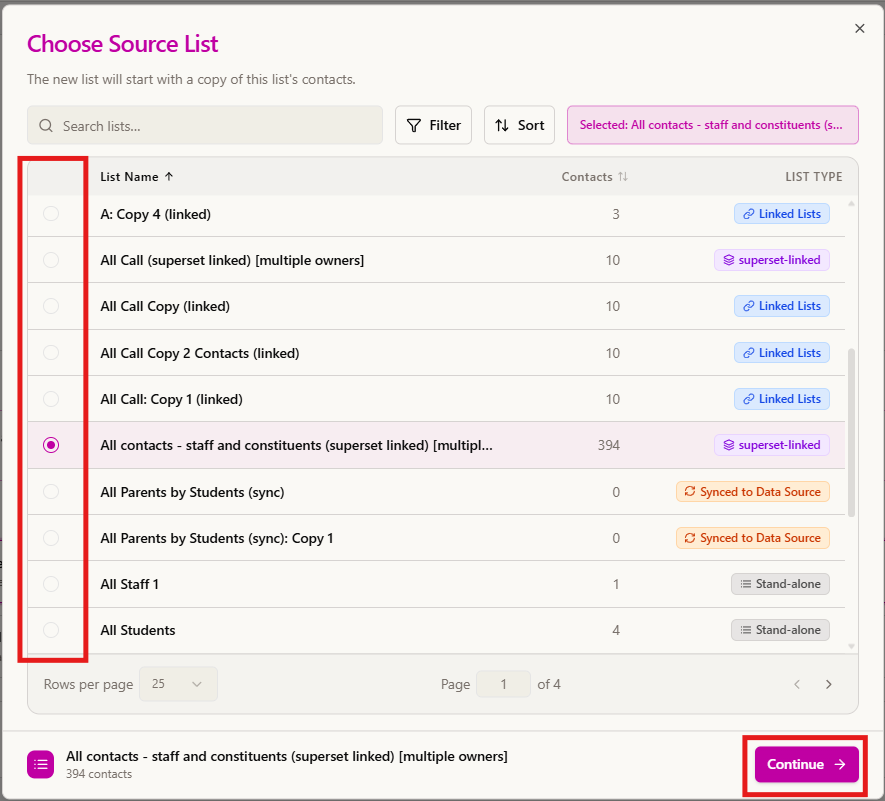
- Click on the Choose a source List bar, then mark the radio dial for the list you'd like to copy.
- Use search, sort, filter, and page options to easily find the list you want to duplicate.
- Click Continue to proceed.
- Review and adjust the link options as needed. In almost all cases, you will want to keep them as the defaults.
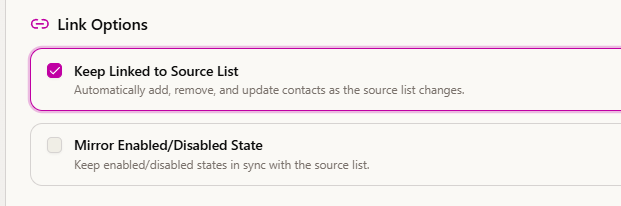
- Keep linked to source list - on by default: with this on, when contact information updates in the source list that information will automatically be applied to the new copied list as well.
- Mirror enabled/disabled state - off by default: with this on, if a contact is deselected in the source list they will also be deselected in the new copied list.
- Click Next to proceed.
- Make a final review of the options you selected, then click Copy List.
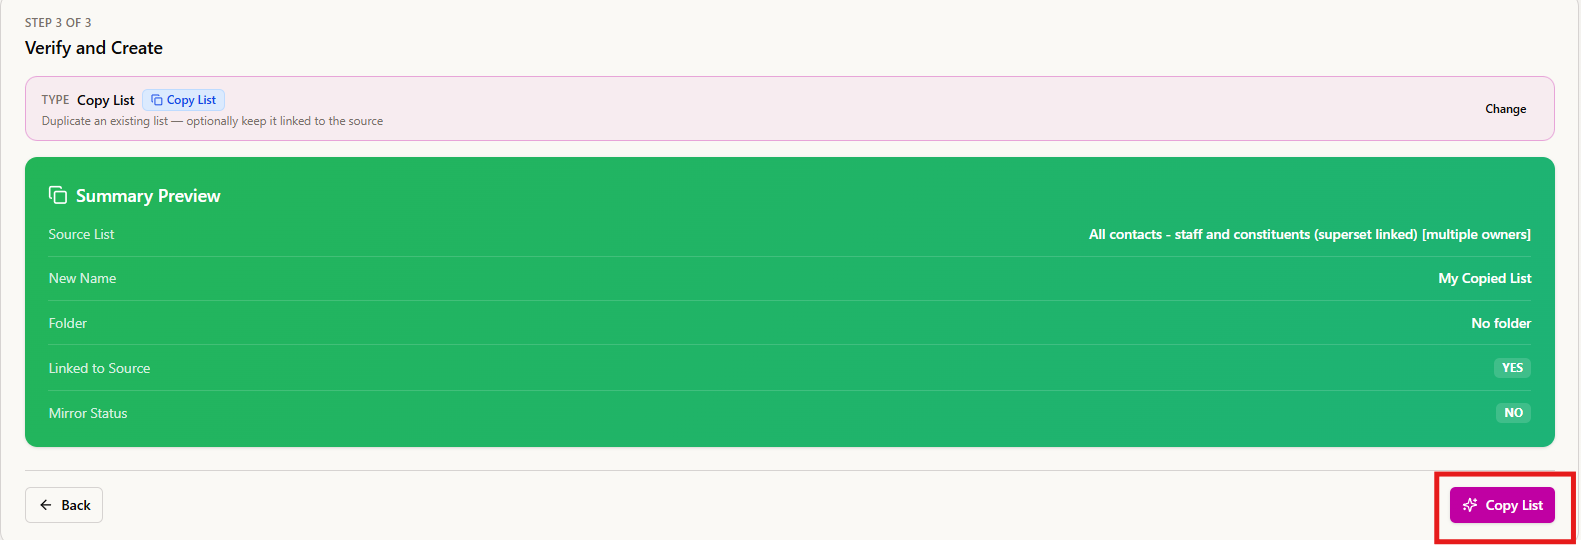
- The new list you created will immediately open to the list's details. Make any adjustments as needed to the enabled state of contacts, list settings, or add a list message to save a message to the list.
How to copy a list in BrightView
From the BrightView interface, you can create a duplicate of any list from the “My Lists” page.
1. Check the box next to the list you'd like to copy:
 2. Click on the Select an Action menu:

3. Select 'Copy a list': 
4. Give your list copy a name:
- Keep Linked to Source List - By default, this option is selected. This keeps the copy list linked (synchronized) to the master list from which it was created. As the master list updates, this option automatically updates the copy with the newest information from the master list.
- Derived list's enabled contact state matches the source list - By default, this option is deselected. Checking this box will make the contact selection from the original source list match the contact selection in the copied list. Any time someone changes the contacts who are selected in the source list, the contact selection will also change in the new copied list.
5. Click OK:

Special Notes:
- Once a copy list is created, the link cannot be adjusted. If adjustments need to be made to the copy list, then delete the copy list from the “My Lists” page (do not delete the master list) and then re-create the copy list.
- Manual changes to the copy list will be over-written as the master list updates.