Protecting a Message from Being Deleted
You may start a new message each time you have something to send, or you may start from your previous message and edit it to meet your current purpose. This is great for messages that you need to send once and are manually sending, but what if it is a message in a shared list and you don't want anyone making changes to it? This document will detail how to lock a message to protect it so changes will not be made in error. Conversely, we will also cover how to unlock a message so that changes can be made when needed.
Do I need to protect my message?
When you go to look at a message in a list you click Edit Prior Message. However, we all get very used to clicking the New Message button which clears out the prior message. Occasionally, someone may try to review a message but clicks the wrong button and now the message is gone, and we only find out after the message sending procedure fails because there isn't a message to send. This is especially common with automated messages, such as attendance notifications. Having the right protections in place will prevent an issue before it occurs.
How do I prevent a message from being accidentally cleared?
Each list has a bunch of settings. One of those settings is to lock the message to prevent it from being cleared. With this setting on you will not be able to make changes to the message, however, should you need to edit it all you need to do is go back in and uncheck the box. This way you know if the message was altered then someone took the steps to do it on purpose.
- Go into the associated list and access List Settings using one of the two following ways to get there:
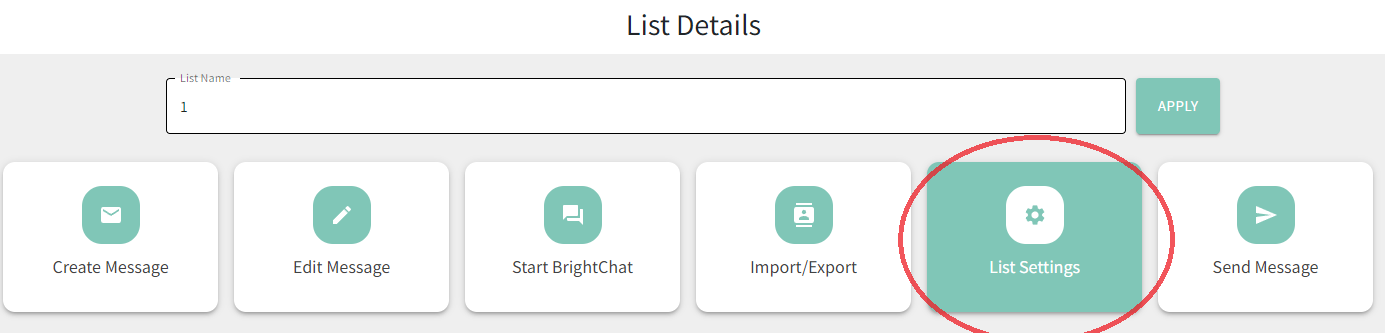
- From the My Lists page, hover over the row with the list you want to protect. A menu will appear. Click List Settings which looks like a gear.
- Go into the list by clicking right on the list's name and choose the List Settings option.
- From the My Lists page, hover over the row with the list you want to protect. A menu will appear. Click List Settings which looks like a gear.
- Once inside the list settings, navigate to the List Management tab (it will likely be the default tab that opens upon entering List Settings).
- Toggle ON "Disable deleting current message."
- Clicking the back arrows will save your selection(s).


Your message will now appear in read-only mode, preventing any accidental changes. Anyone trying to create a new message in this list will be blocked from doing so. Clicking Create Message in this list will result in the following pop-up window:
 To send a new message from the list, users will either need to create a copy of the list or take the above steps in reverse order to unlock the message.
The message will be blocked from editing too, with the message showing in read-only mode so no changes can be made. To edit the message, take the above steps in reverse order to unlock the message for editing.

*After any changes are made, remember to add the protections back onto your list as needed.
How can I unlock a message that is in read-only mode?
So, you've taken the steps above but now you need to make changes to your message. No problem! Just go back into your List Settings > List Management and adjust the toggles as needed to unprotect your message. Remember to add the protections back in place after you've made any necessary changes to the message.
