Selecting Contacts in a List
In BrightArrow, you can select individual contacts in your list to send a message only to those who are enabled. That way you don't need to create a new list to send a message to only a portion of the contacts within a larger list.
How to select individuals in a list
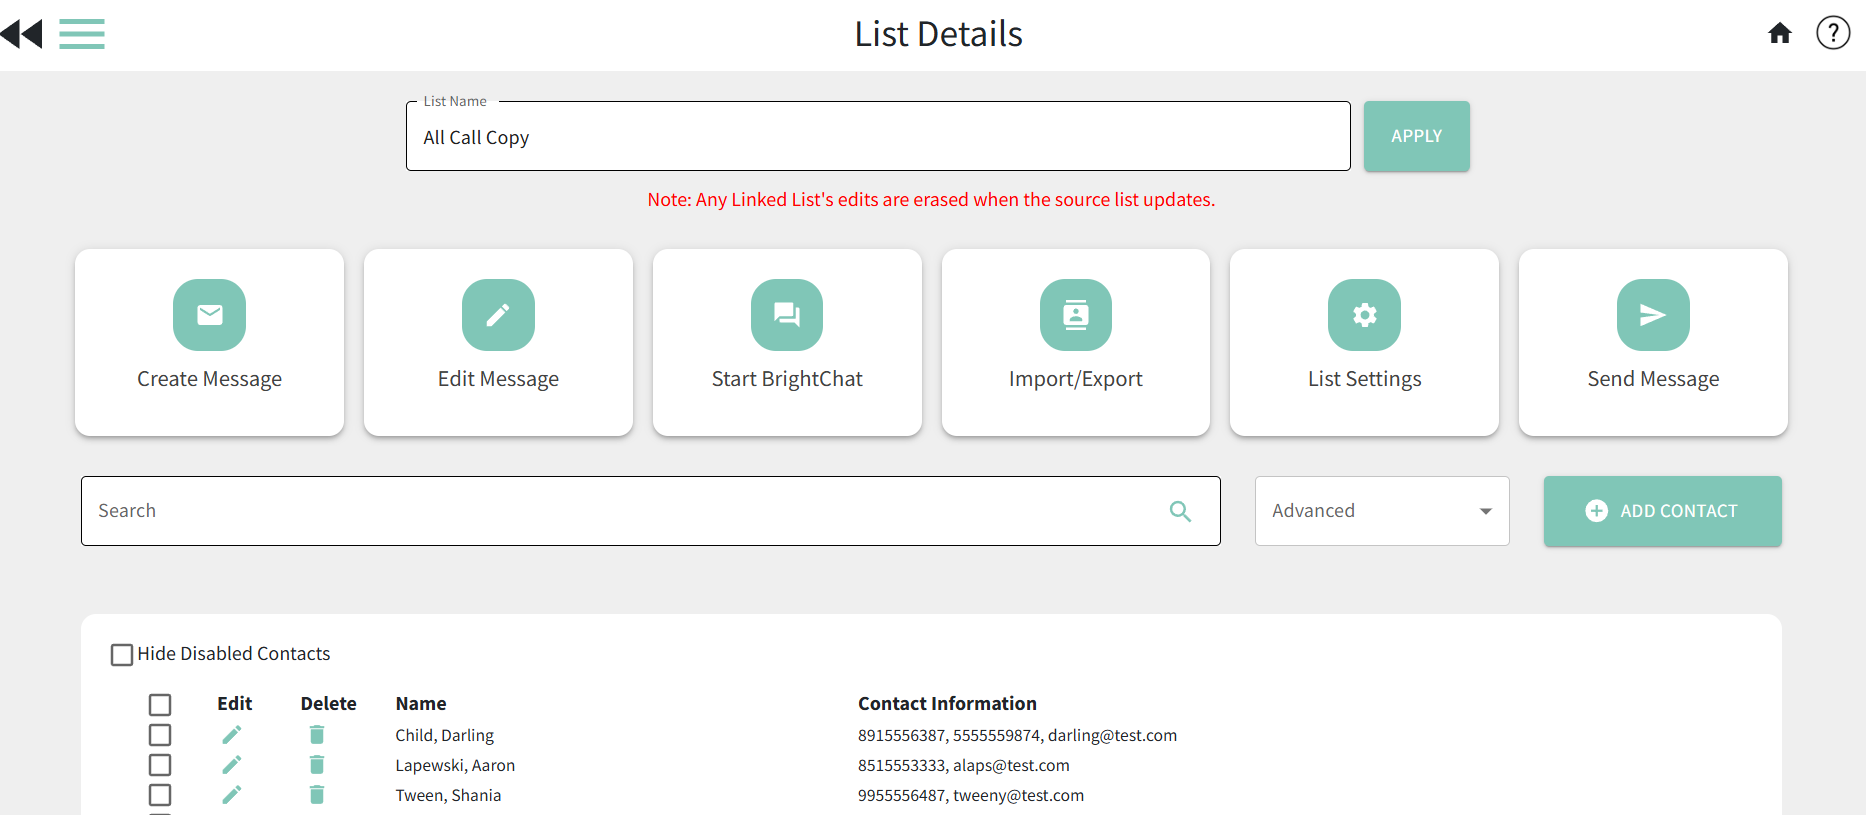
- From the My Lists page, click on the name of the list to bring you to the List Details page.
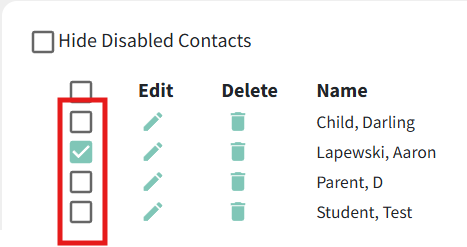
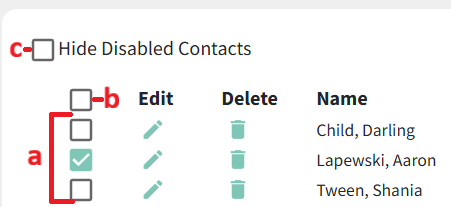
- Mark the checkboxes next to each individual's name to enable them to receive messages in the list.
- Contacts who are disabled (not checked) will not be sent messages.
- Use the checkbox next to the bolded "Edit" column header to enable/disable all contacts.
- Use the "Hide Disabled Contacts" checkbox to see only those who are enabled in the list.

Changing the selection when there is a message pending/sending
If you or another user who shares the list needs to send a second message to the same list right after sending the first message, we recommend making a copy of the list before changing the selected individuals.
Although BrightArrow messages send very quickly, it is possible with larger lists that the message will not be done sending by the time you create and send your new message. To avoid any potential error, we suggest that you first make a copy of the list, then change your contact selection in the copied list to send your message. This is only needed if the first message has not completed sending yet.
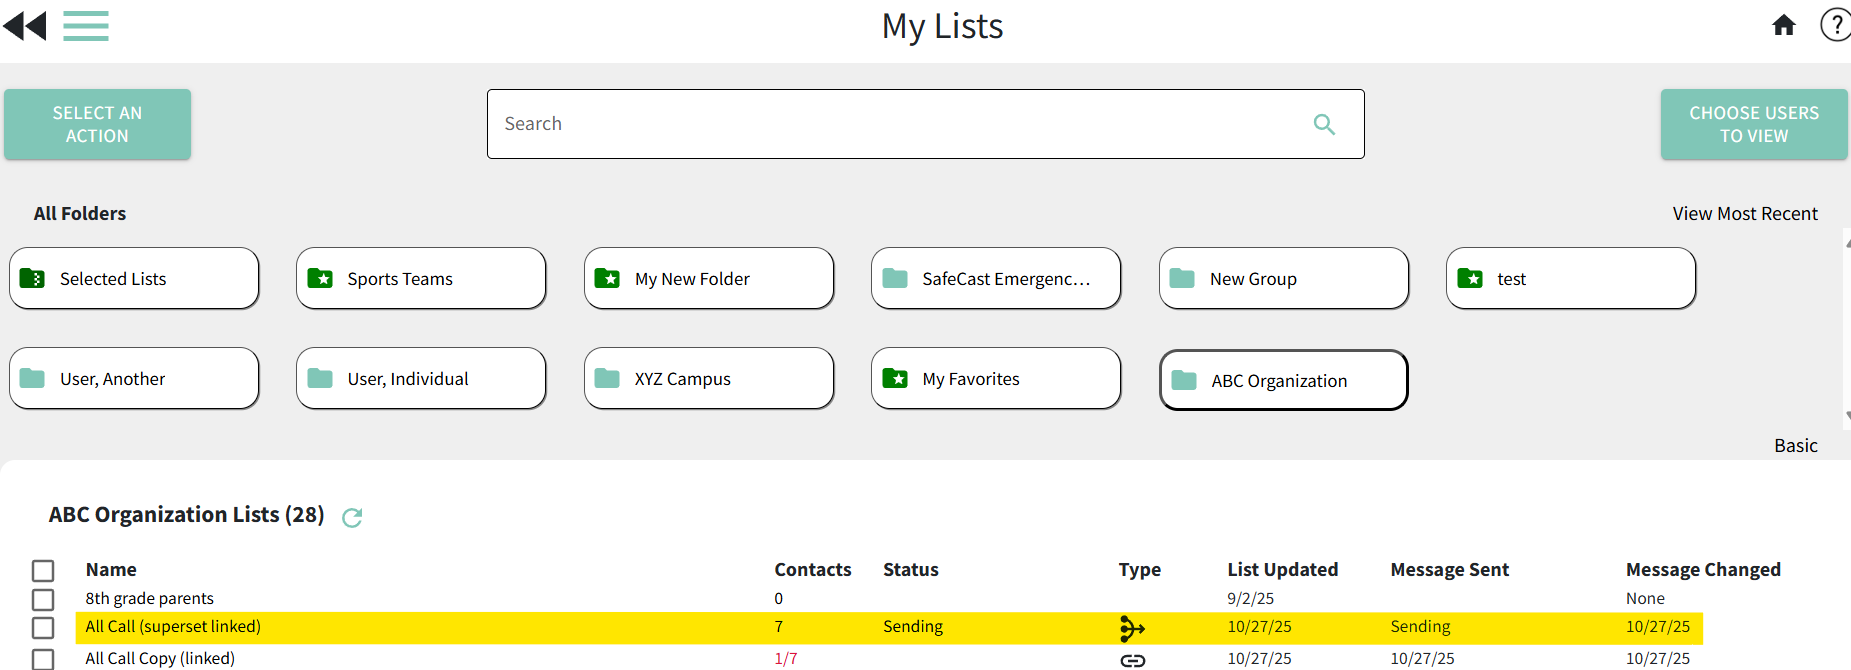
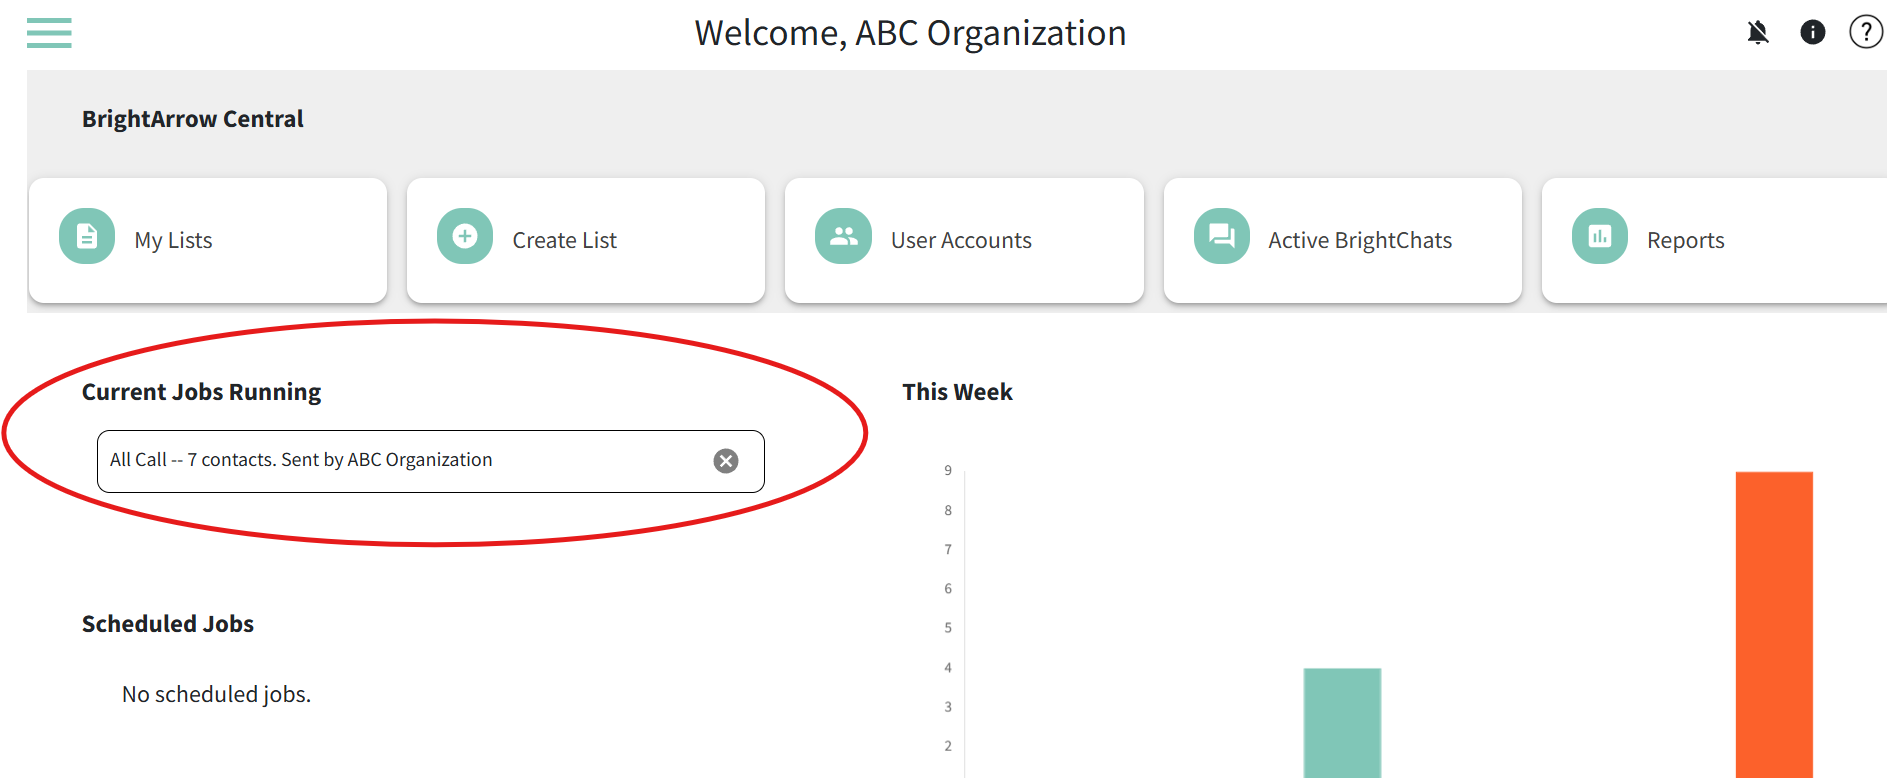
You can see if a message is still sending from the My Lists page or the BrightArrow Central home page:
How to see how many contacts are enabled in the list
Contacts must be enabled / selected within the list to receive the message you send to the list. You can see the number of contacts who are enabled in your list in a few different places in BrightView.
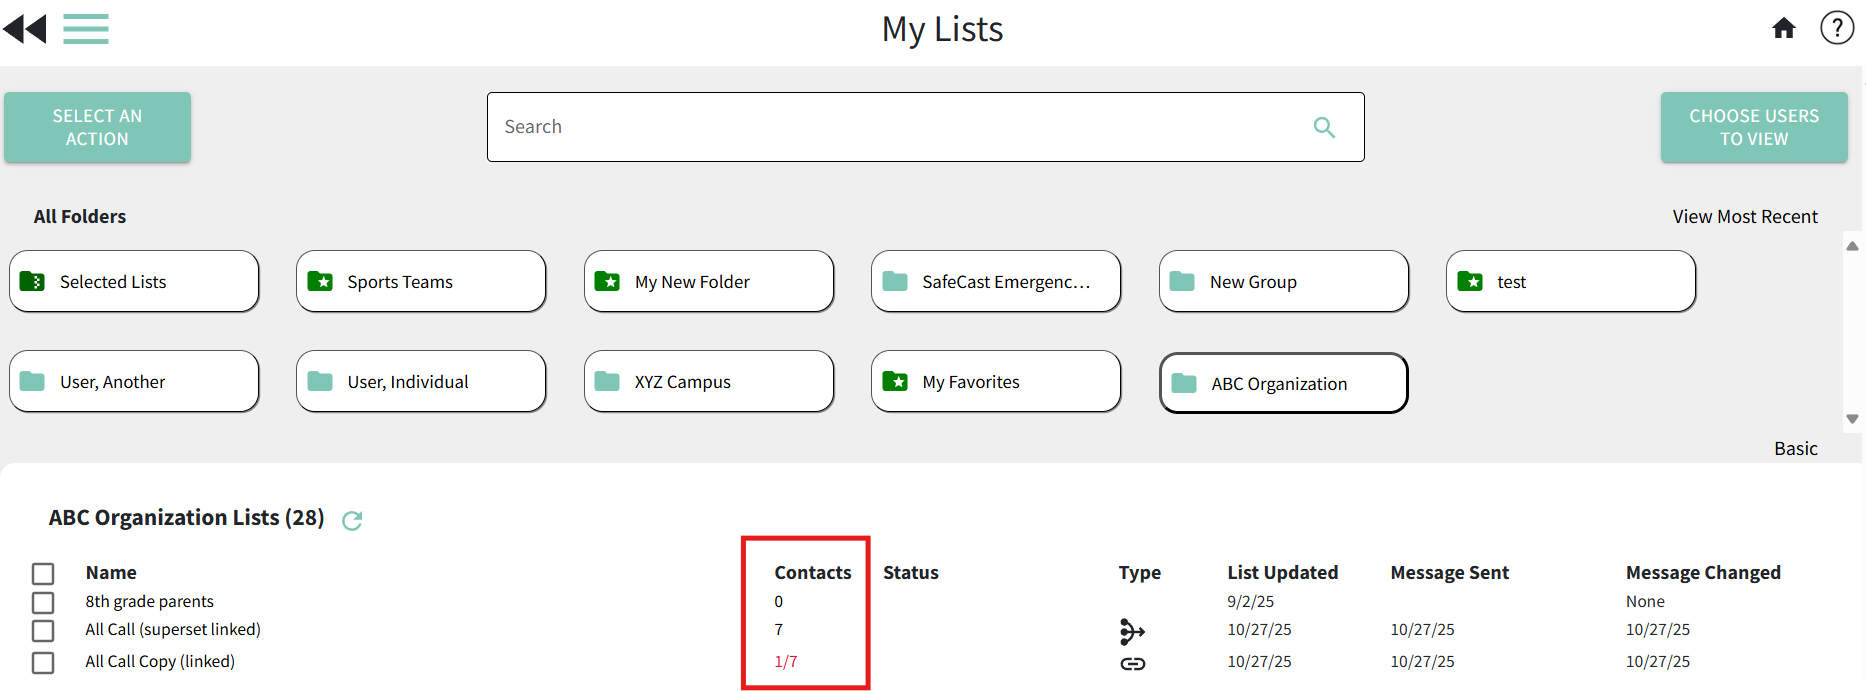
- From the My Lists page, review the "Contacts" column.
- If the number of contacts is listed in black, all contacts in the list are enabled.
- If the number of contacts is listed in red, not all contacts in the list are enabled. Formatted # / #, with the first number being the number of contacts who are selected/enabled and the second number being the total number of contacts in the list. For example,
1/7 indicates that 1 of the possible 7 contacts is enabled.
- From the My Lists page, click on the name of the list to bring you to the List Details page. Any contacts in the List Details page who are enabled will have a checkbox next to their name.
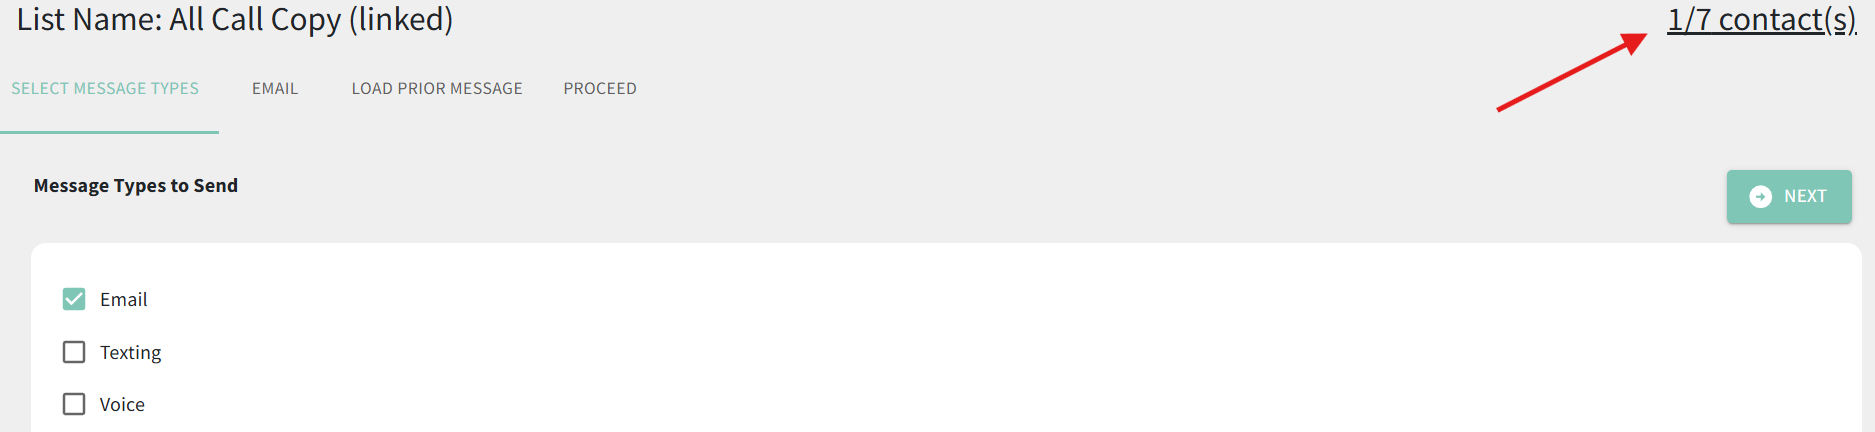
- From the Create Message page, the number of contacts is shown in the upper right corner. For example, 1/7 contact(s) is indicating that the message will only send to 1 of the 7 possible contacts in the list because only one is enabled.
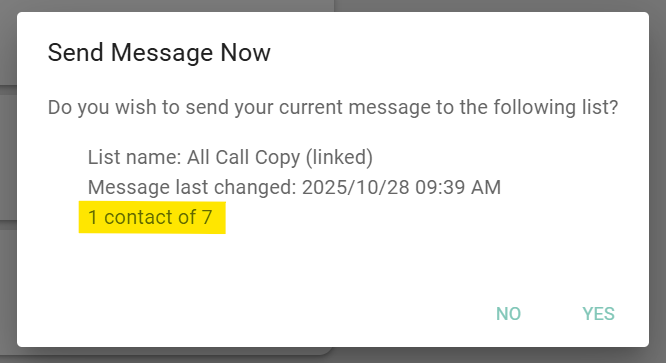
- When you go to send your message, there will be a pop-up window asking you to confirm that you want to send your message. That window will show how many contacts your message is going to try to send to. For example, "1 contact of 7" is indicating that there are 7 contacts in the list, but only 1 of them is enabled. The message will only send to that one contact.