How to Enable or Disable List Contacts in Revere Message Center
Enabling / Disabling contacts in any list can help you manage the list's recipients. In this article we will explain the different scenarios where you may want to enable or disable a list's contacts and how to do that in the Revere Message Center. If you need help enabling and disabling contacts in the previous user interface, BrightView, see here.
Why would I want to disable contacts?
If you have a list created but you don't want to send your message to everyone in it, you can easily disable contacts in the list so that your message won't send to them. Only enabled contacts will be able to receive the message you send to that list. For these contacts, you'll simply turn a toggle off for each person so that BrightArrow will not include them in the recipients list when you send your message.
One other reason why you may want to disable contacts in a list is if you are creating a copy of a list but do not want the copy to contain every one of the contacts that are selected in the original list. In this case, you can create the copy, then disable all the contacts who you do not want to receive messages that you send to the copied list.
How to see how many contacts are enabled or disabled in a list
In the Revere Message Center, you can easily see the number of contacts that are enabled in any list. Under the name of each list, you will see the number of contacts that are included in that list.
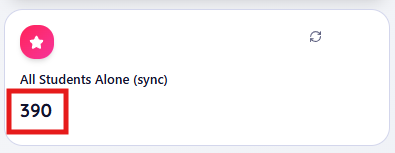
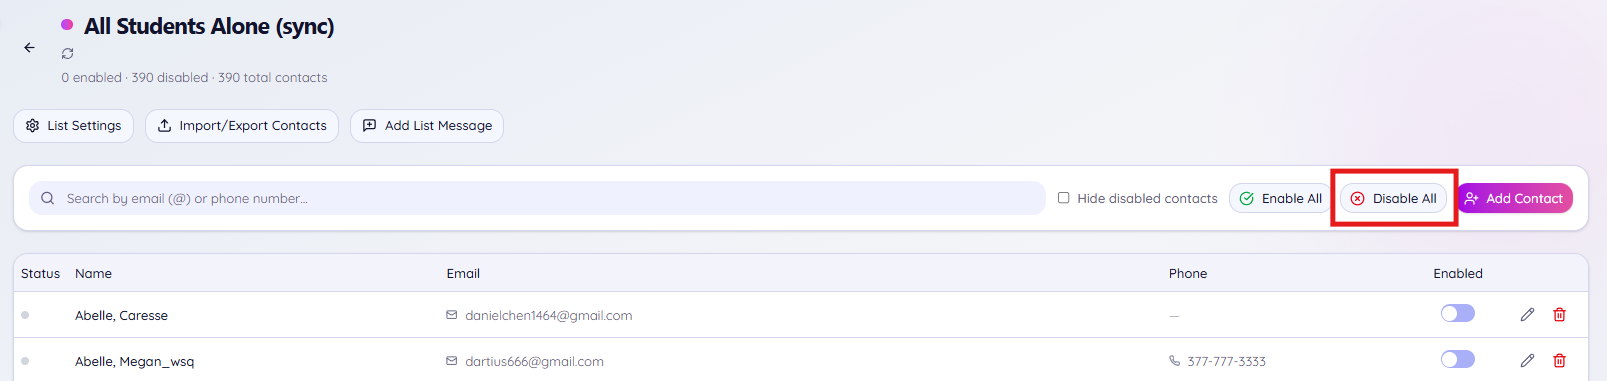
- A single number indicates that all contacts in the list are selected. In the example below, the "All Students Alone (sync)" list contains 390 contacts and all of them are enabled. Only enabled contacts will be considered to receive the message you send to the list.
Table View:

Grid View:
- Two numbers shown as # / # indicate that not all of the contacts in the list are enabled. The first number indicates the number of enabled contacts and the second number indicates the total number of contacts in the list. In the example below, the "All Students Alone (sync)" list has a total of 390 contacts but only 377 of them are enabled. Only enabled contacts will be considered to receive the message you send to the list.
Table View:

Grid View:

How to know which contacts are enabled or disabled in a list
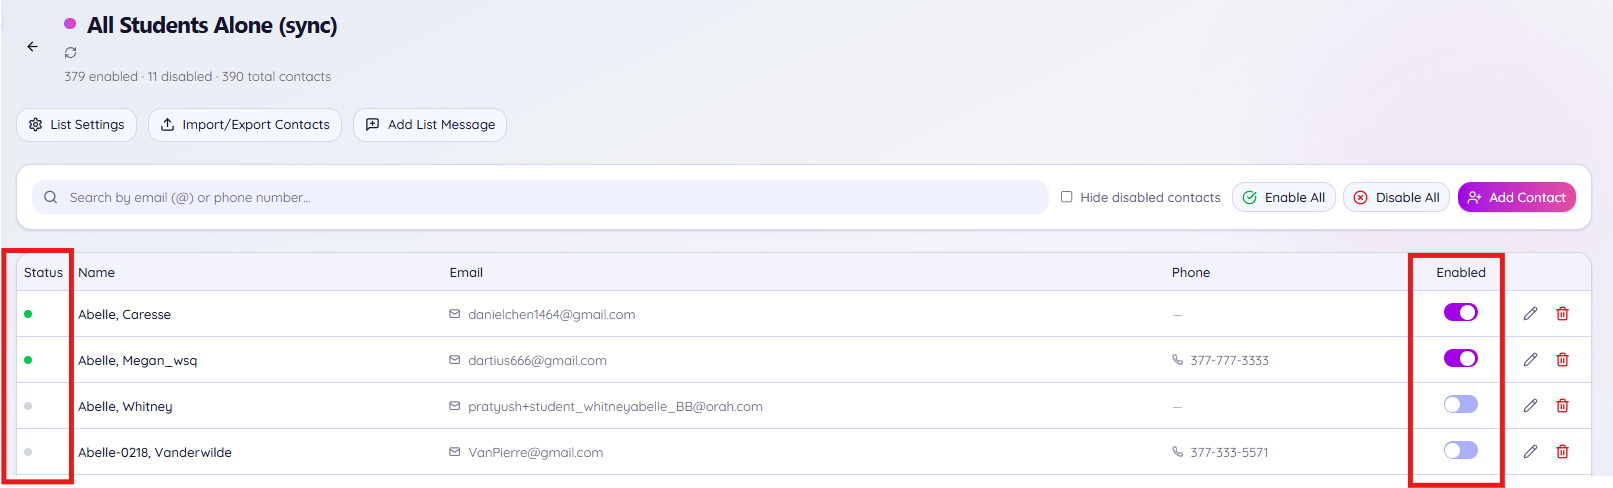
To see exactly which contacts are enabled or disabled in any list, click directly on the list so you can see the list's details. In the "Enabled" column, if the toggle is turned ON that specific contact will be able to receive a message you send to that list. If the toggle is turned OFF, that specific contact will not be sent your message.
You can also look at the "Status" column since the dots there are driven by the "Enabled" column. A colored dot in the Status column indicates that the Enabled toggle is set to ON. A grayed-out dot in the Status column indicates that the Enabled toggle is set to OFF.
Is there a way to easily find out if a specific contact is enabled?
Yes, you can easily scroll through or search in your list to find if a contact is enabled or disabled in it.
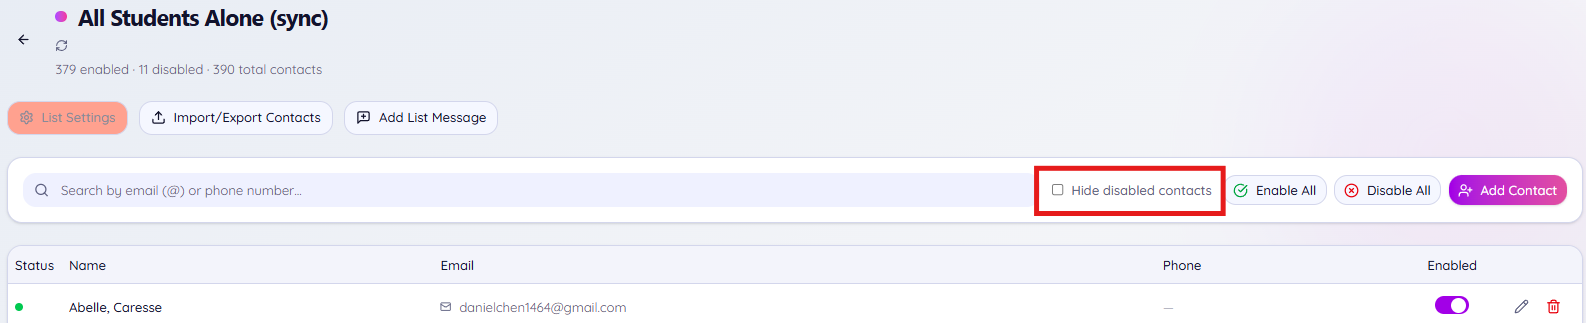
First, you may want to make sure that all contacts in the list are showing regardless of whether they are enabled or not. To do that, make sure the checkbox to "Hide disabled contacts" is deselected. That way you will see all contacts whether or not they are enabled or disabled.
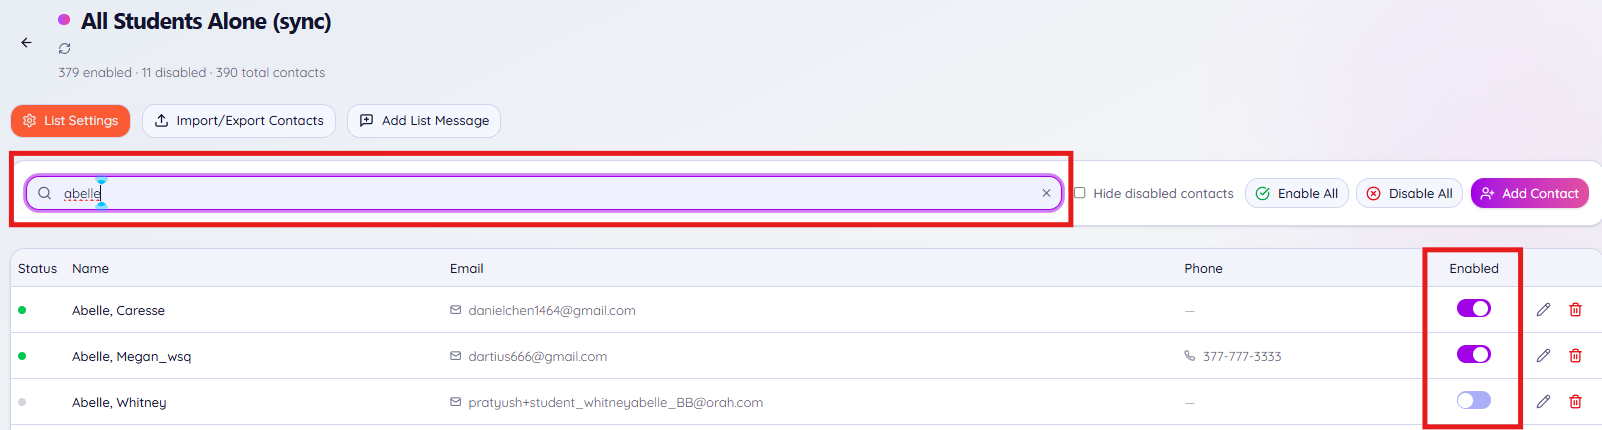
With all your list contacts now showing, use the search bar to search for the contact. You can enter their name, email address, or phone number in the search field to find them. Once you've located them in the list, look to the "Enabled" column and use the toggle to enable or disable the contact as needed.
Can I easily enable or disable all contacts in the list?
Yes, you can enable or disable all contacts in the list with the click of a button. You do not need to manually turn on or off the Enabled toggle for each individual contact if you want them all to have the same status. This can be especially helpful in the case that you either want to make sure all list contacts are sent your message, or conversely if you want to only send your message to a few of the contacts in your list.
First, you may want to make sure that all contacts in the list are showing regardless of whether they are enabled or not. To do that, make sure the checkbox to "Hide disabled contacts" is deselected. That way you will see all contacts whether or not they are enabled or disabled.
With all your list contacts now showing, use the "Enable All" button to instantly mark all contacts in the list as enabled. Just remember that the changes you make will stick until you change them back, so if you don't normally have all contacts enabled you will need to go back and disable those contacts again.
 If you only want to send your message to a few contacts in the list, you may want to use the "Disable All" option to disabled everyone, then go back and toggle ON the enablement for only the contacts you want to send your message to. Just remember that the changes you make will stick until you change them back, so if you normally have all contacts enabled you will need to go back and enable those contacts again.
I'm trying to change who's enabled but I'm getting an error
If you're trying to change the enabled / disabled status for a contact but you're seeing an error that says "Failed to update contact," that is likely because the list's settings have the "lock contact selection" turned on. With "Lock contact selection" turned on in the list's settings, you will not be able to enable or disable contacts within the list.

You can easily adjust the list's settings, but if you are using a shared list you may want to instead make a copy of the list for your personal use. If you change the contacts who are enabled in the list, those changes are applied to the list for all users who share the list. If someone went through the steps to make sure others would not change who is enabled in the list, it's probably best to make a copy of the list then change the settings and enabled/disabled status in the copy for your personal use.
If you are sure it's ok to change the enabled / disabled status for contacts in your list, simply go to the List Settings and toggle OFF "Lock Contact Selection."

 You will now be able to change the enabled / disabled status for any contact in the list.
I'm already creating my message. Can I enable / disable contacts without leaving the Create Message page?
Yes, in the Revere Message Center you can enable or disable contacts while you're in the Create Message page.
- With your message started, click the "+Add Contact Lists" button to choose which contact list(s) you will send the message to.
- The "Add Contact Lists" window will open. Find the list(s) you want to send your message to.
- Click the people icon located to the right of the list's name.
- Use the toggles to enable and disable your contacts as needed. Remember that the changes you make here will stay in place until you change them back, so if you disable some contacts to send your message now you may want to go back into the list and re-enable them after the message has sent.
- Once your contacts are enabled / disabled to your liking, click the back arrow in the upper left to return to the previous screen.
- Notice the number of selected contacts in your list. If all contacts are selected, you will see just the total number of list contacts. If some list contacts are deselected, you will see # / #. The first number indicates the number of selected contacts who will be considered when you send your message. The second number is the total number of contacts in the list regardless of whether they are selected or not.
In the example below, the All Students Alone (sync) list has 388 out of 390 contacts enabled (shown as "388 / 390 contacts"). - Once you have all your contacts enabled or disabled as needed, proceed with adding the list(s) to your message by marking the checkbox next to each list's name, then click the Confirm button at the bottom of the window.
- The message creation page will now show the lists you have selected, along with the total number of contacts that the message will attempt to send to.


